How to Make an Easy Holiday Planter
It’s the coldest day of the year in Toronto (so far!) and they’re saying we’re going to hit record lows! The last time it was this cold in Toronto was over 30 years ago…but that didn’t hold us back! Despite the freezing weather, I bundled up and met up with my sister and one of my best friends to kick off the holiday season. We were making our Holiday Planters and nothing was stopping us!
So here’s our go at Holiday planters – 4 ways! It’s actually pretty easy to DIY and get that custom and luxurious Holiday planter look you normally find at your local nursery and I’m going to show you how to do it without breaking the bank!
- Pick a theme or color scheme. To achieve a really pulled together look, first off pick a theme or 2-3 colors that you like and try to stay in that color scheme when picking out your supplies. Check out Pinterest for ideas or even go to your local nursery to get some ideas on what you like. I love the local nursery in my area but the custom planters are way too expensive and I can usually create the same look at a fraction of the price. We did start off there today to check them out, get some ideas and then headed over to a local flower market where the owner hooked us up with everything we would need.
- Go shopping and pull together your materials. You will need:
- a planter
- a liner (if you decide to use one)
- 2-3 birch poles
- potting soil/floral foam
- greenery of your choice including pine, cedar, noble fir and juniper OR buy a cheap ready-made basic planter that already has most of the greenery in it and then decorate it yourself
- winterberry in white or red
- dogwood branches
- decorative branches
- Magnolia leaves
- pinecones
- Christmas ornament picks (in different colours and types to match your colour scheme)
- Twinkle lights
- If you bought a ready-made planter skip to step 6. Fill the planter or liner with potting soil (and tightly compact it) or fill it with green floral foam.
- Stick your birch poles into the center of the planter. Use 2-3 depending on the size of the planter.
- Add the greenery to your planter. Start with the noble fir, juniper and pine and then finish off with the cedar all the way around making sure it is cascading over the planter. Make sure to stick the pieces in well so that they don’t fall out.
- Add in decorative branches of your choice behind the birch poles. I always like the look of natural red dogwood but you can also use sparkly decorative branches.
- Add in any winterberry and magnolia leave on the sides and front of the planter.
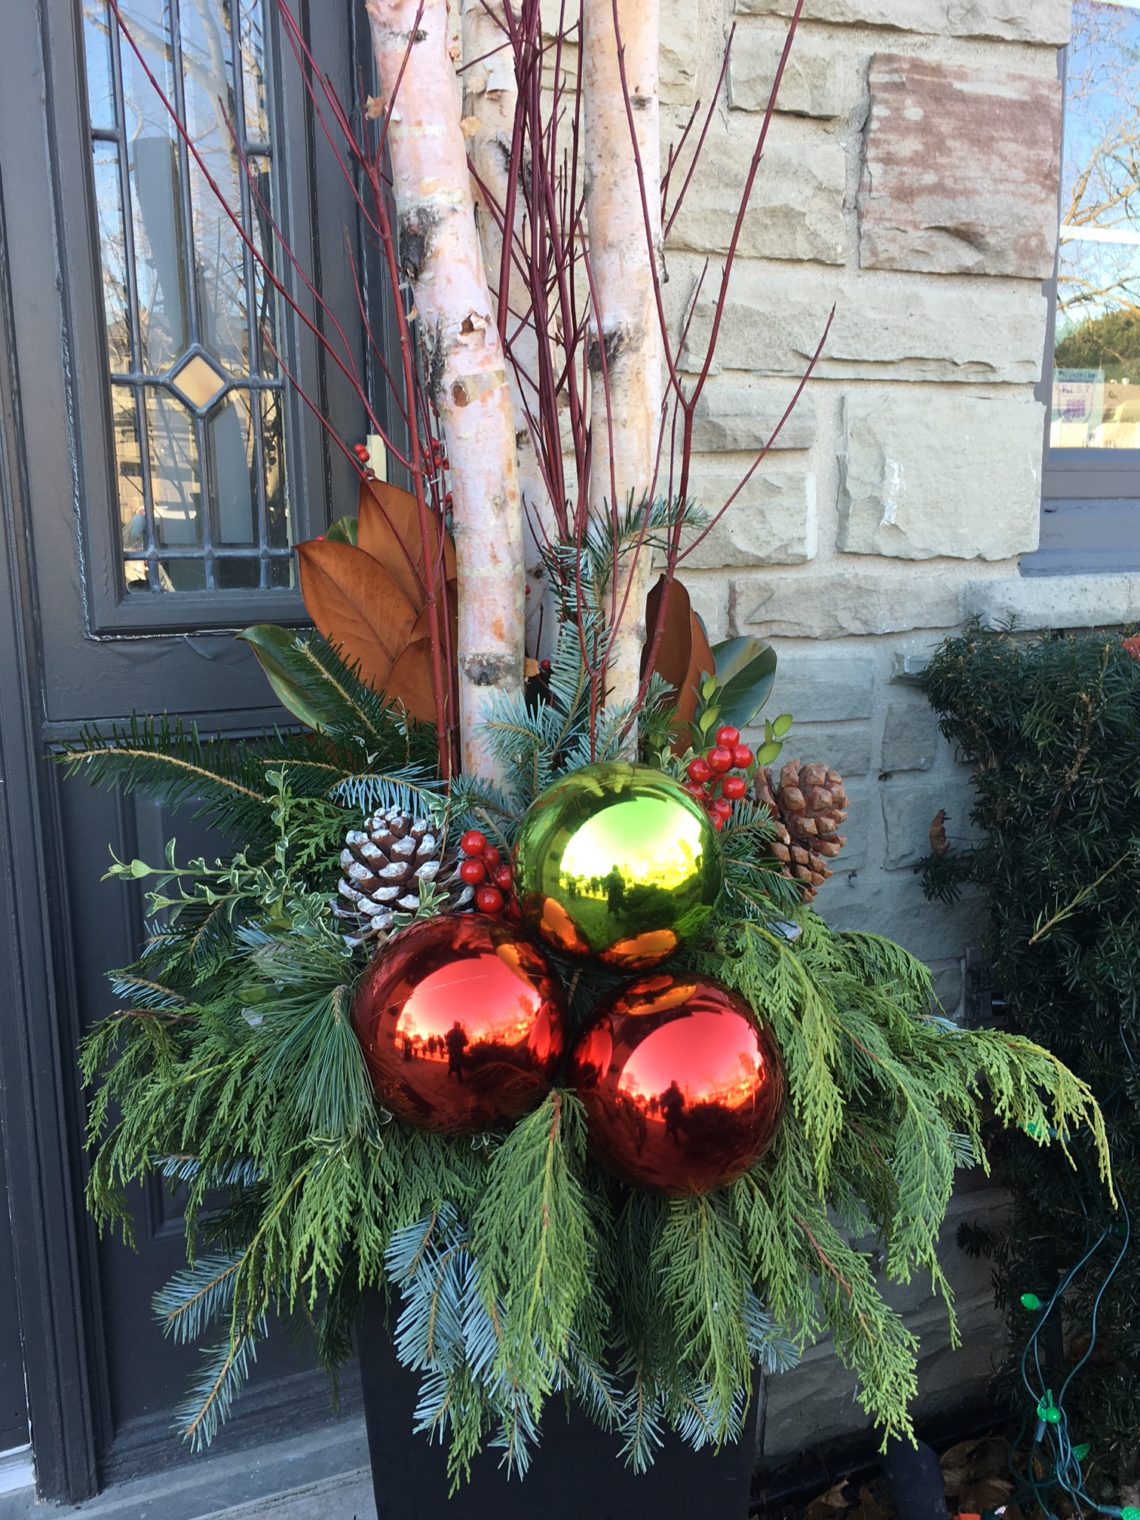
- Depending on the look you are going for add in your ornaments and pinecones. Try to use different sizes, colours and even types and layer them on.
- Finish it off by wrapping twinkly lights throughout if you’d like. And you are done!
Here are the 4 different planters we made this year!


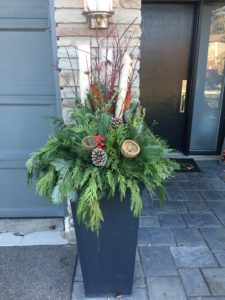

We cheated a bit this year because it was so cold out there and started with the basic planter that we added onto. Each one honestly took us probably less than 10 minutes! So excited to see what you think of them! And good luck with your planters, I’m positive they will be a great festive addition to the front of your home! Check out my other easy ideas on how to decorate your home for the holidays! See you next time, now that our outdoors are festive, we’ve got to get a move on decorating inside too!