Traditional Greek Easter Cookies – Koulourakia
Hi everyone! Hope all of you had a great weekend and if you were celebrating Easter that you had a good one! We’re Greek Orthodox so we’ll be celebrating Easter this upcoming Sunday. But the traditional Easter preparations have begun in our house and we’re passing them down through the generations too!
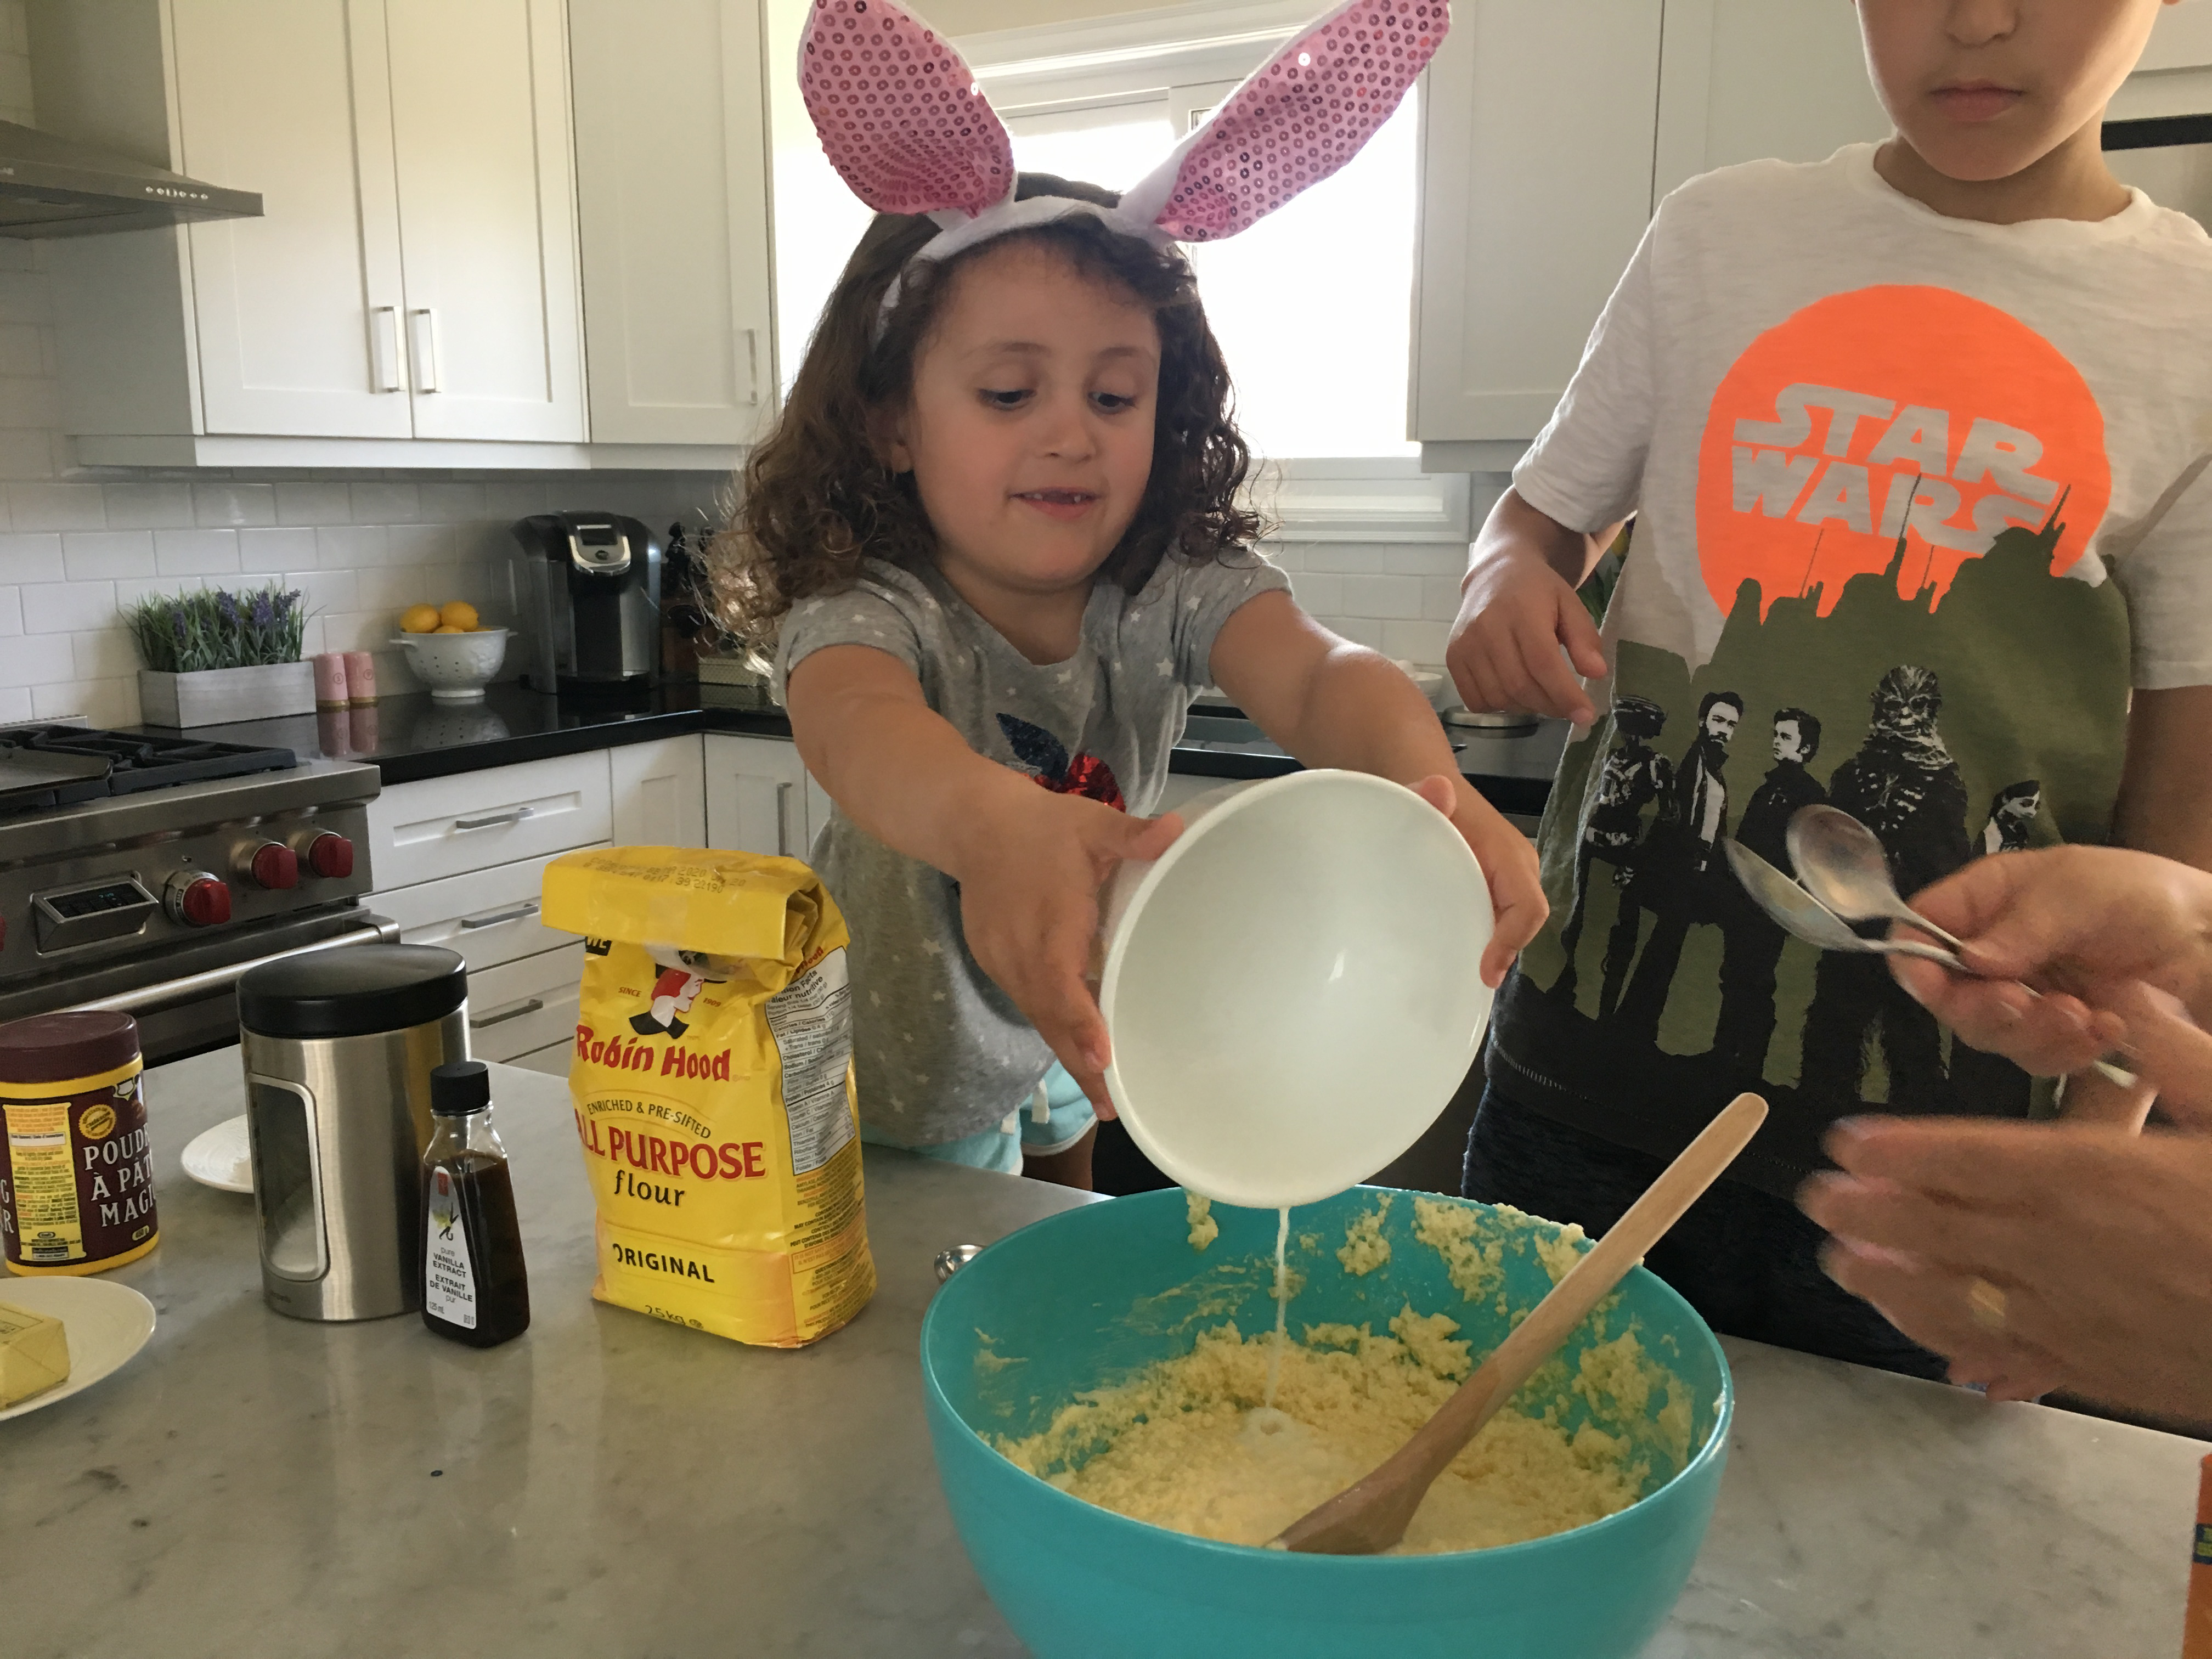
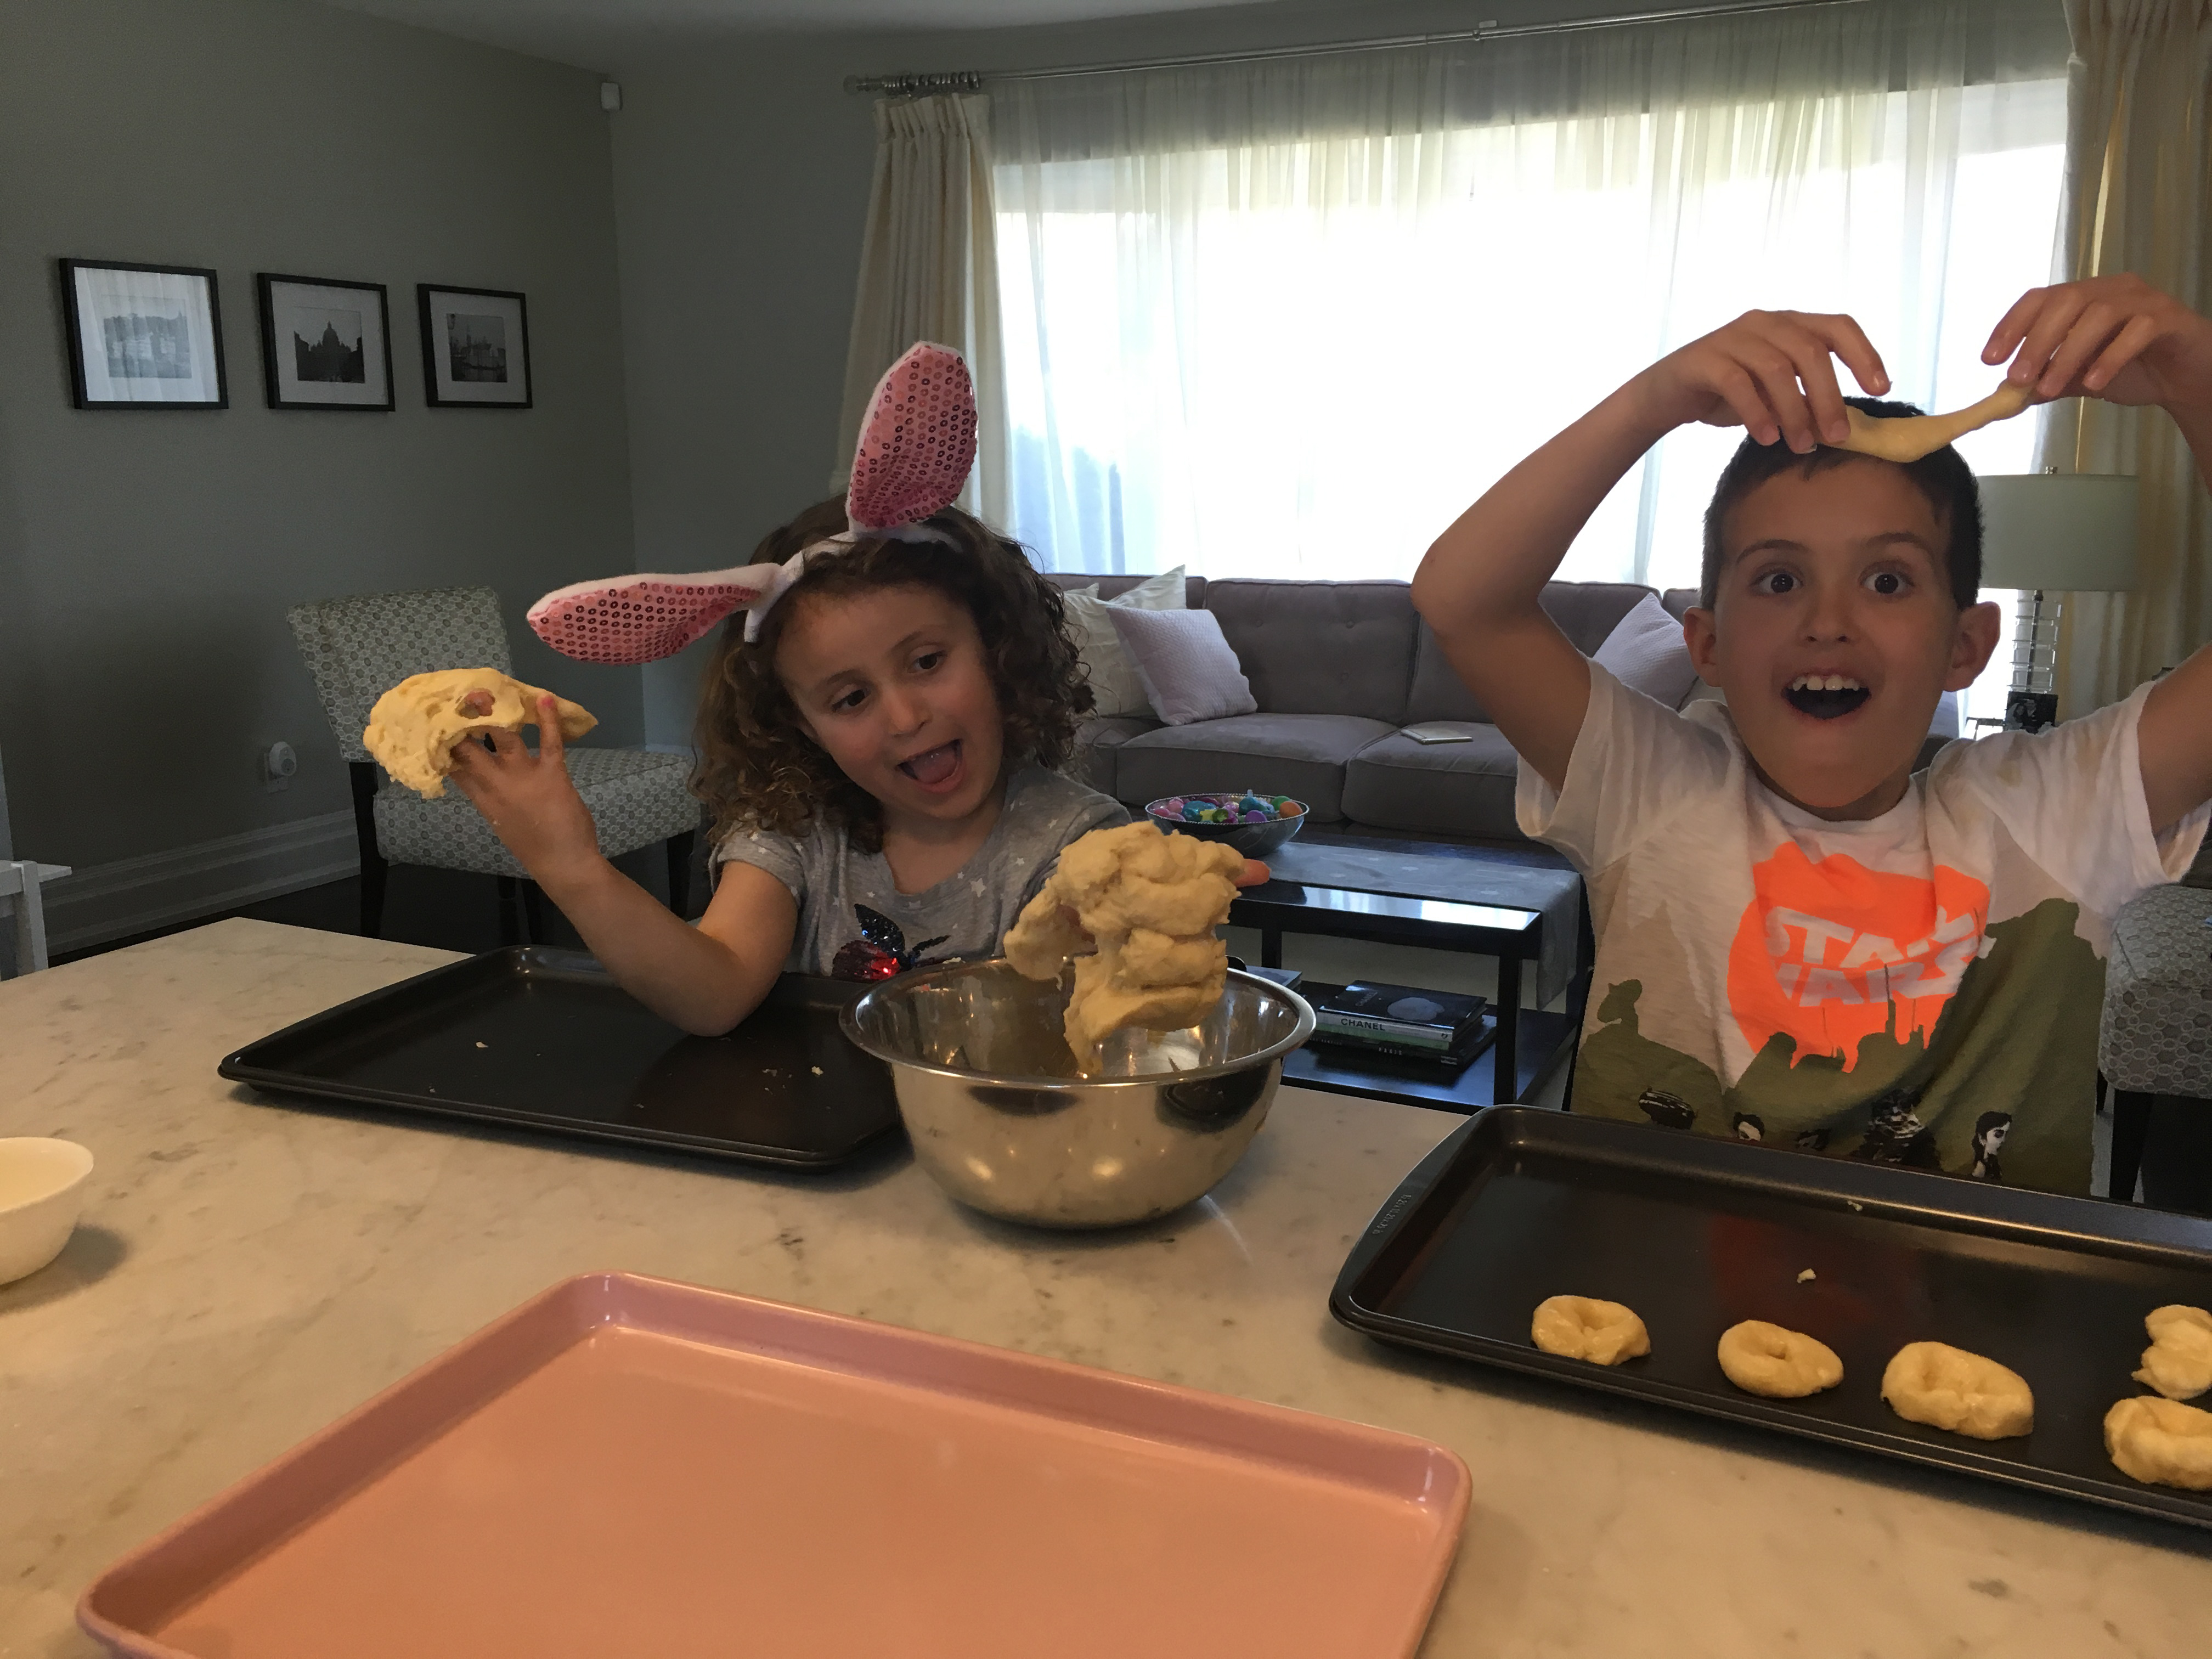
I love baking and I’ve been doing it since I was a little girl. Growing up in a greek family, from an early age I was in the kitchen baking traditional greek pastries and desserts with my mom and grandmother (yiayia in Greek), especially around the holidays, and Easter is a big one for us. Baking has become our family tradition and now my kids help to make cookies with me and their “yiayia” while my 93 year old grandmother watches and bosses us around…I mean lovingly supervises us and makes sure we get it right!
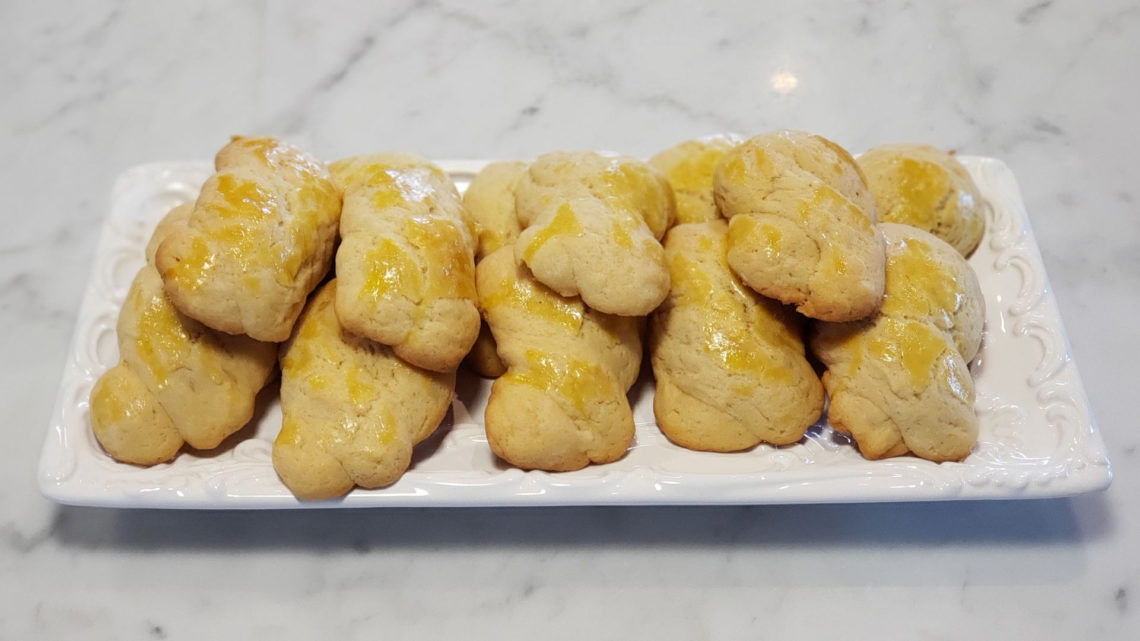
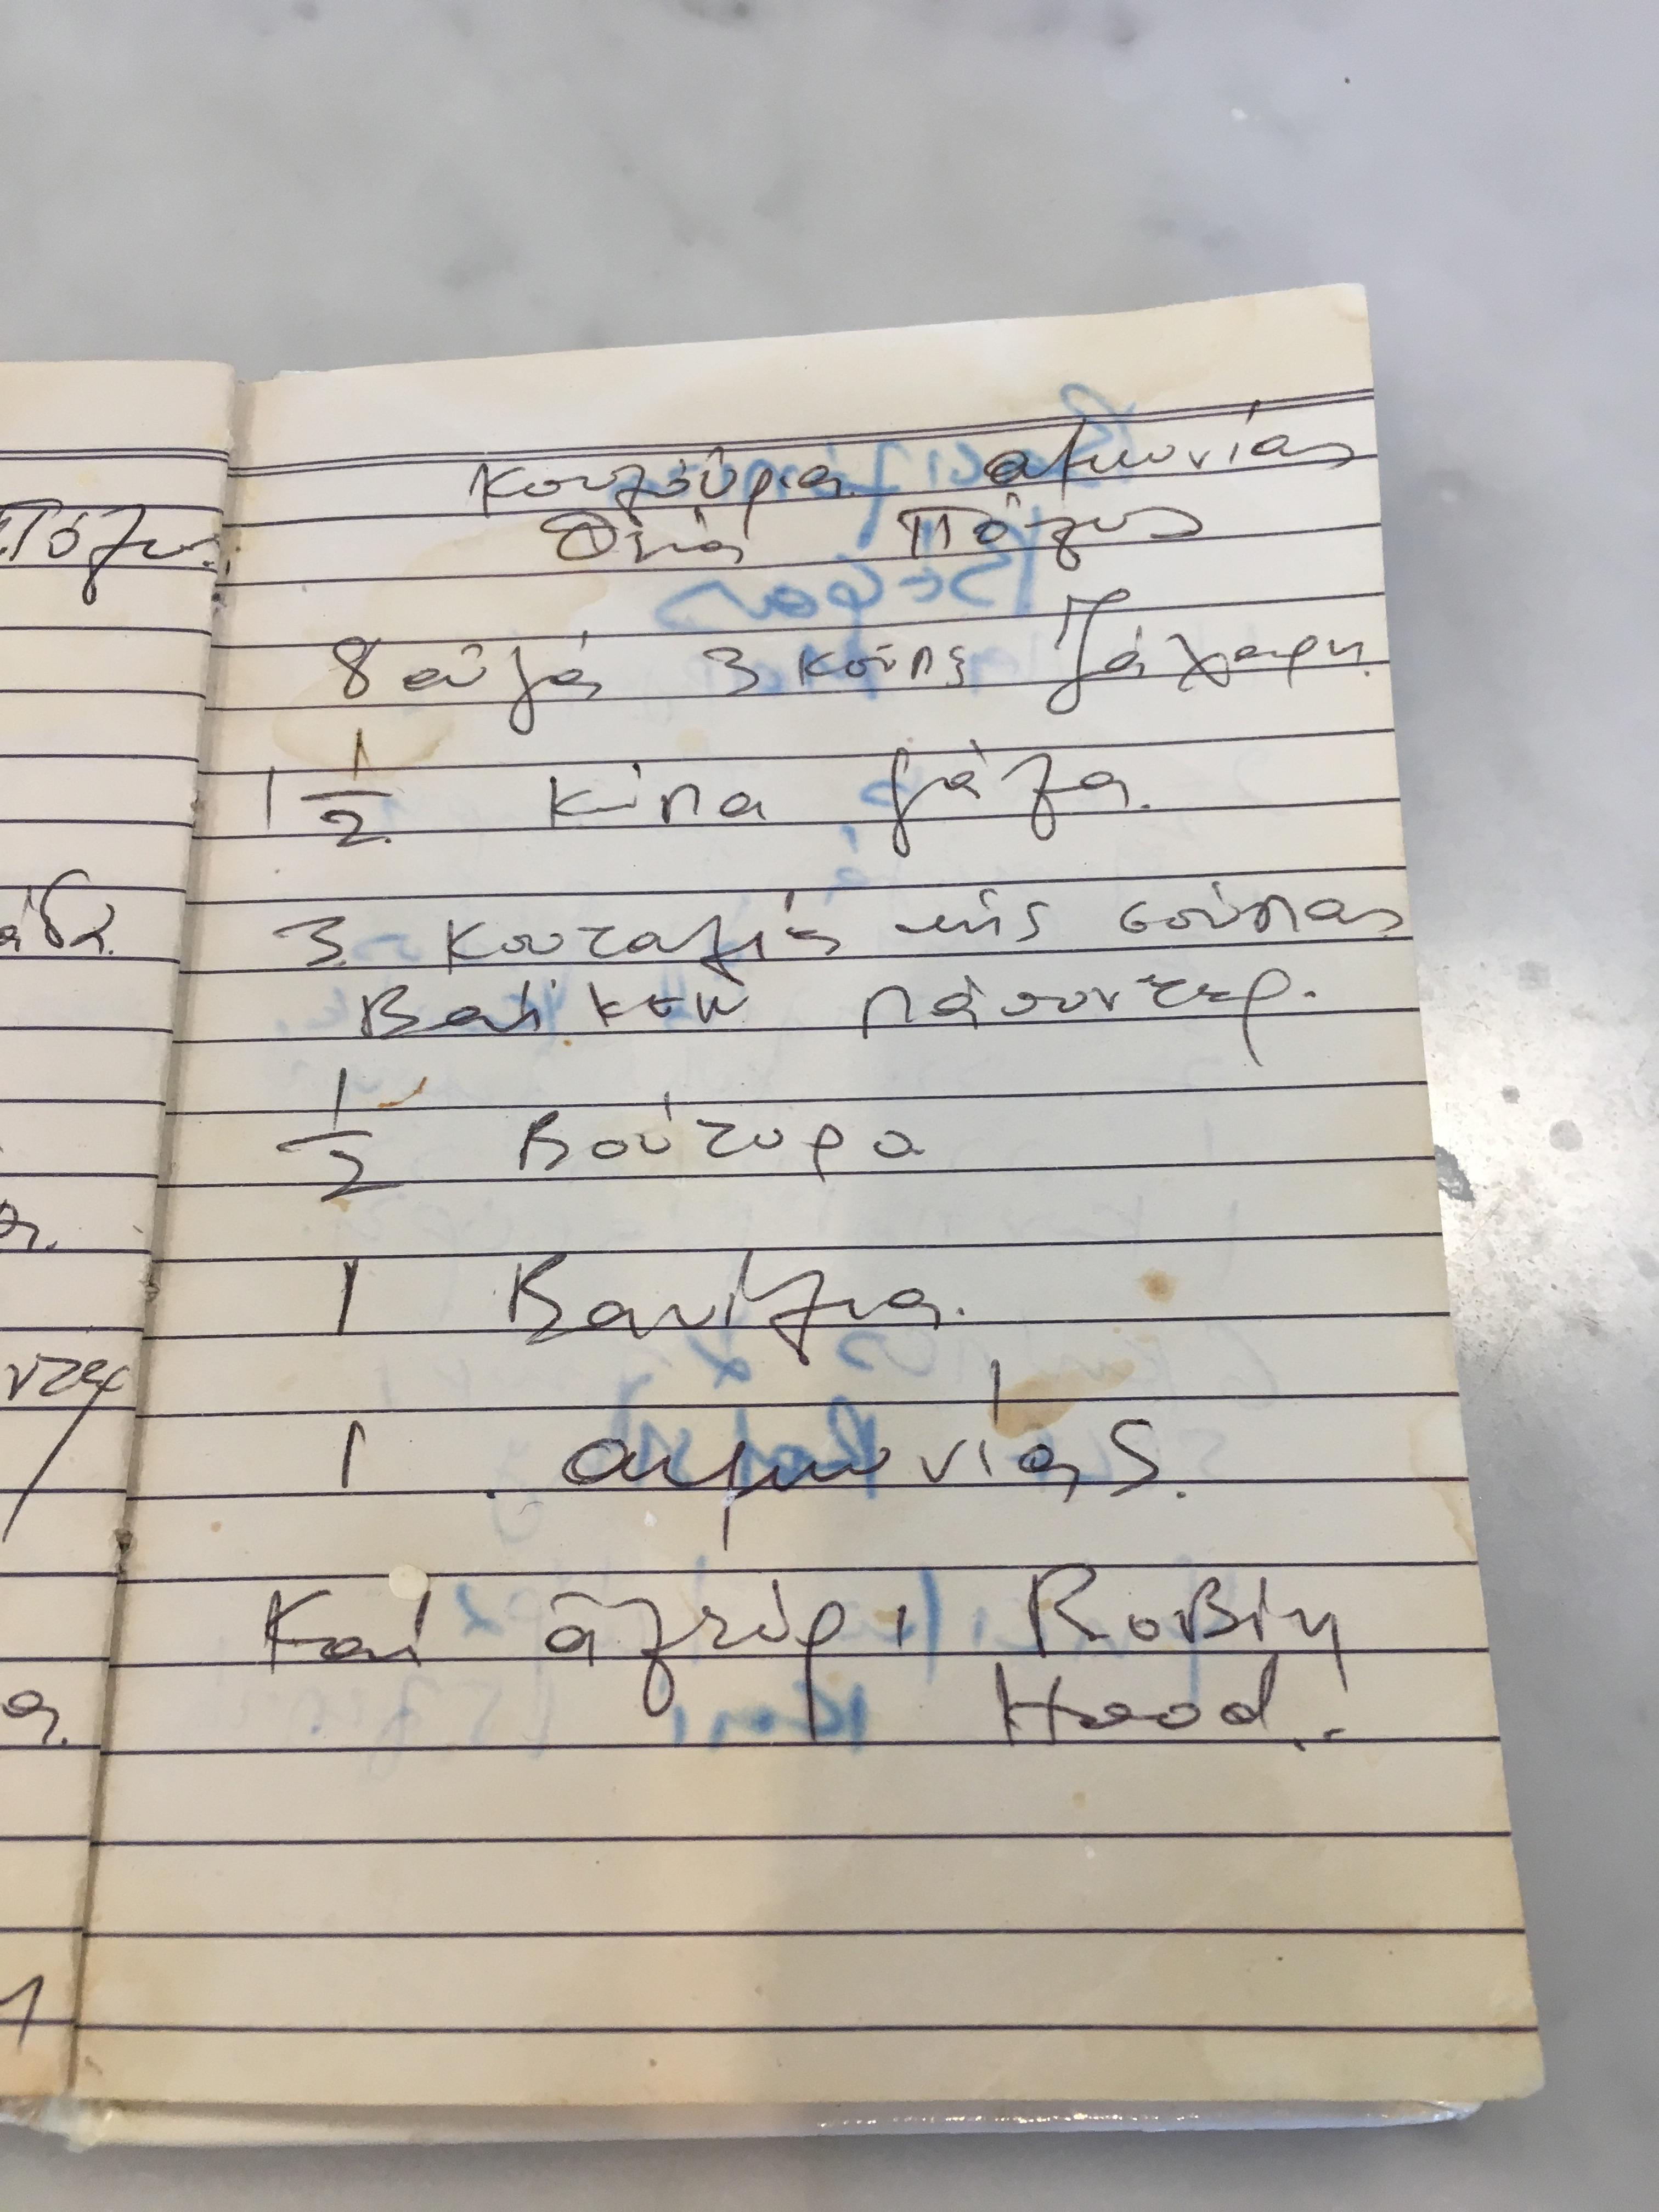
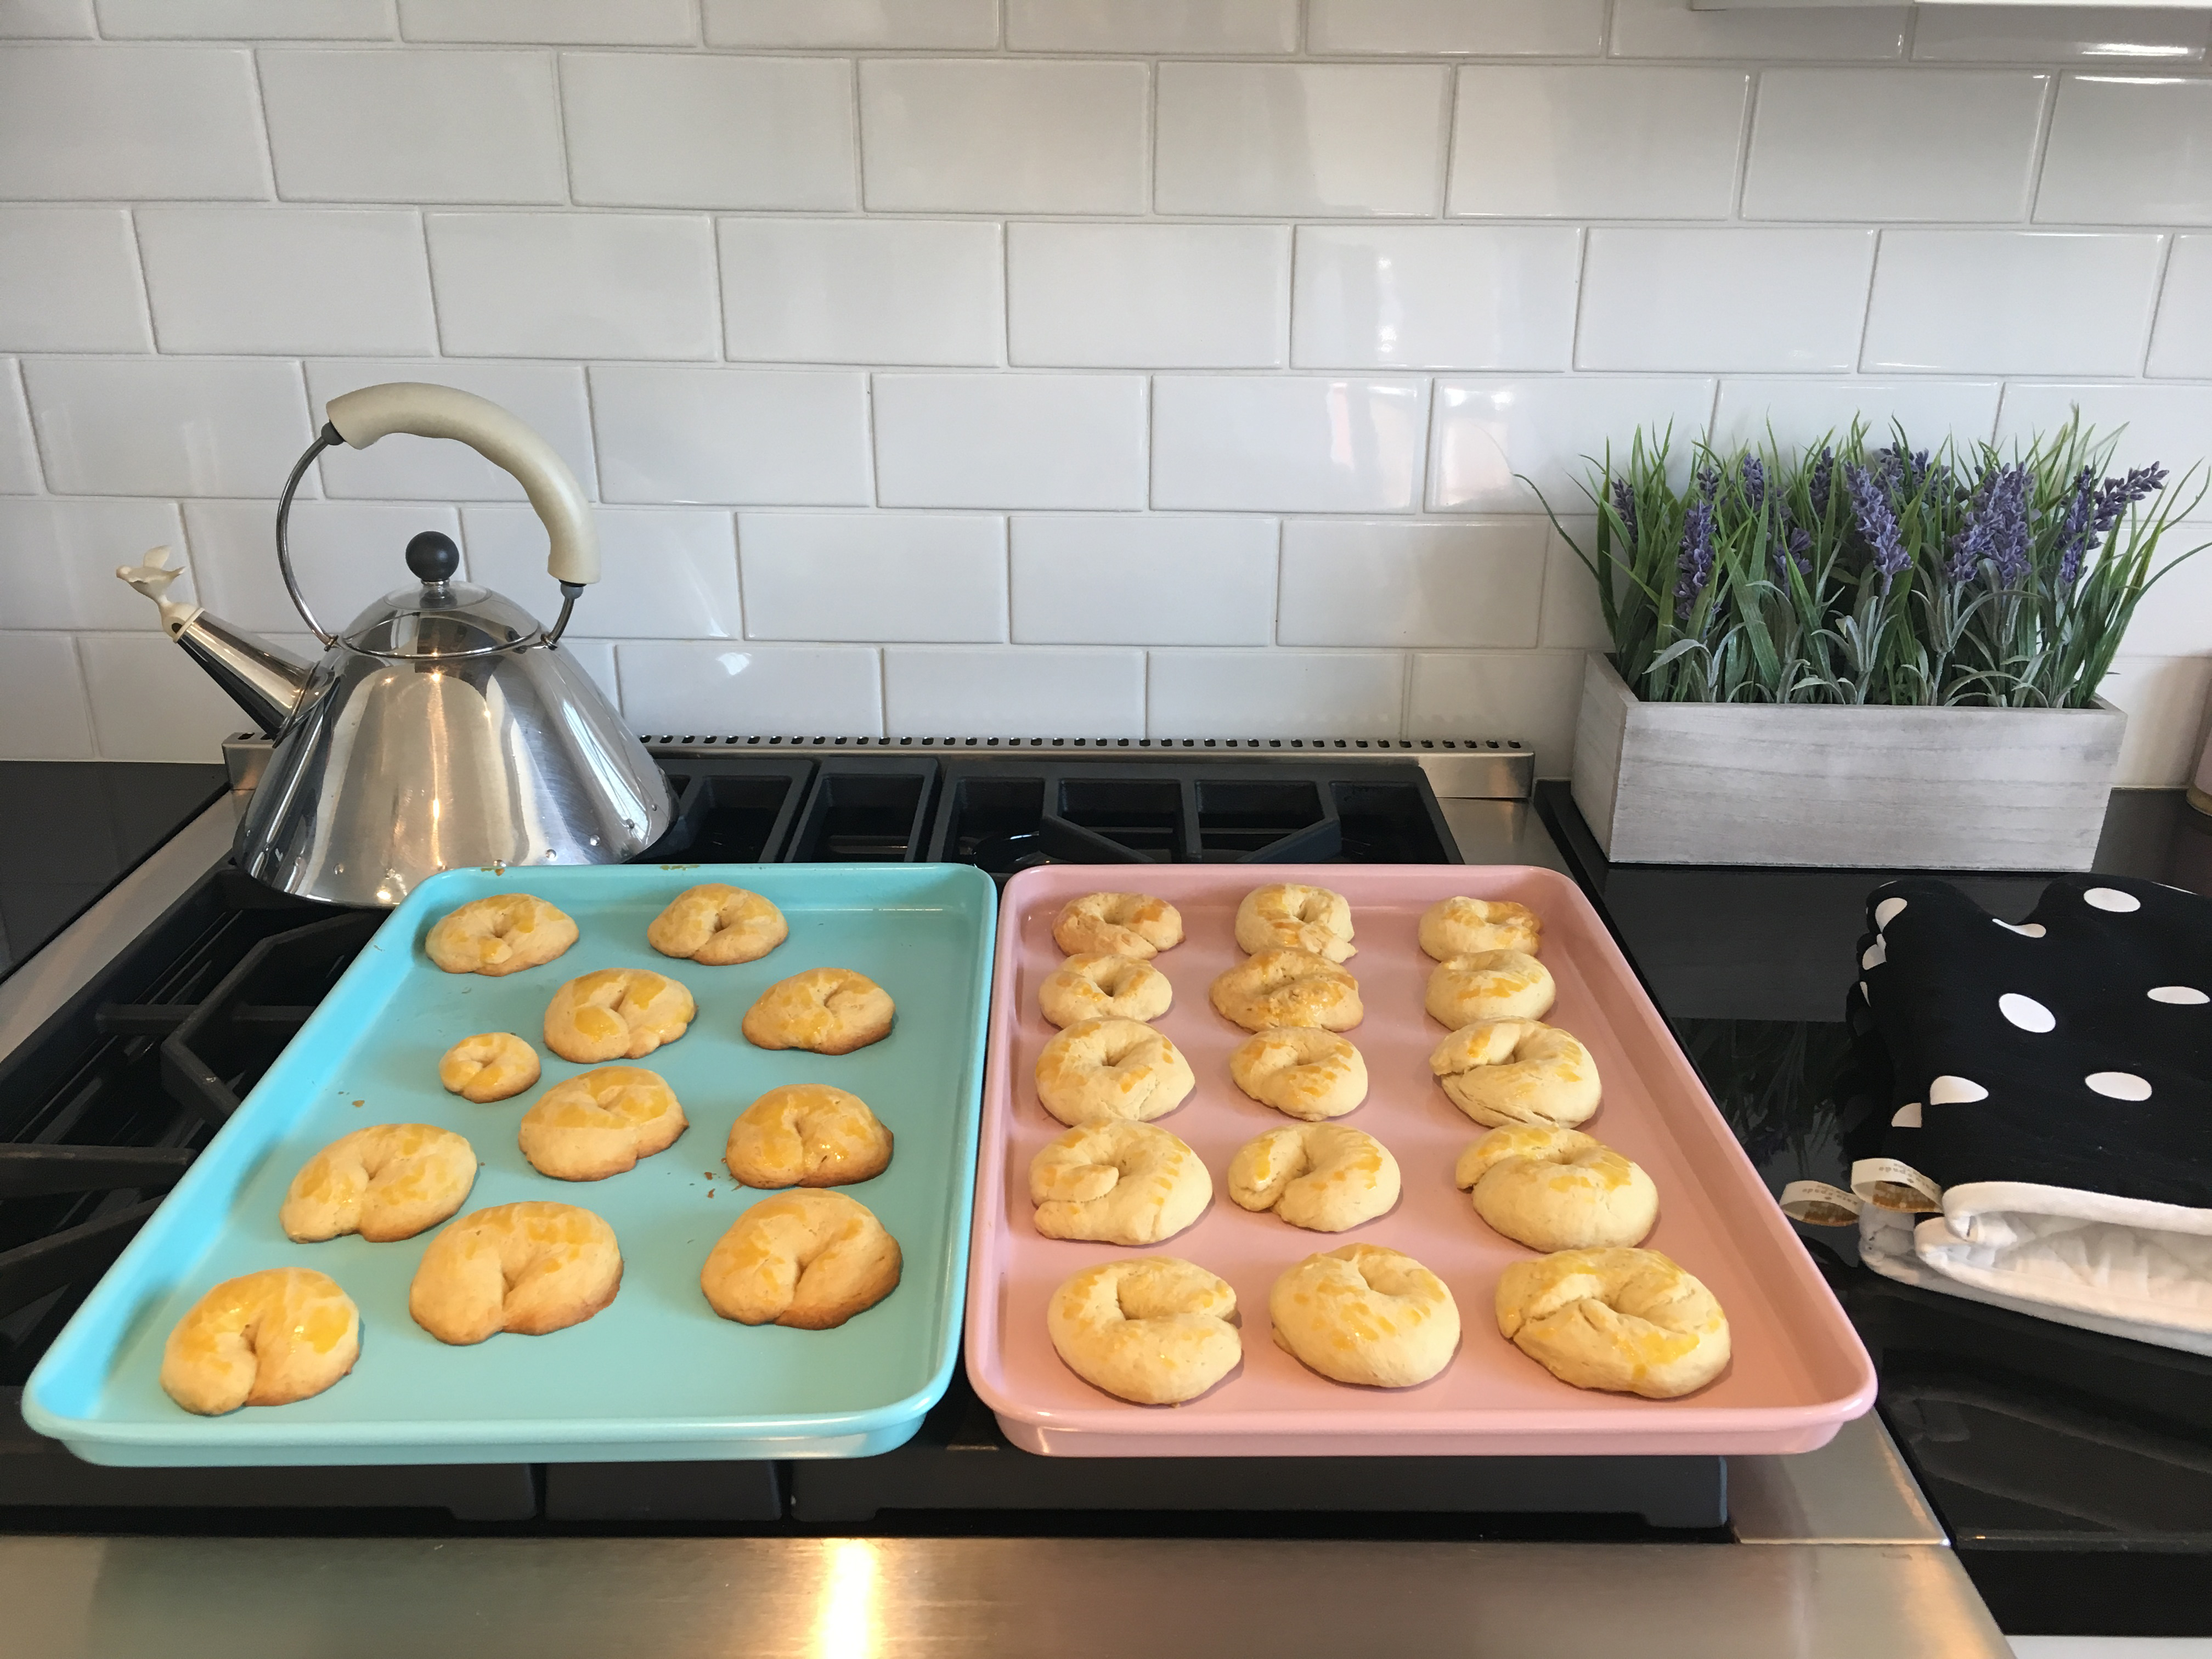
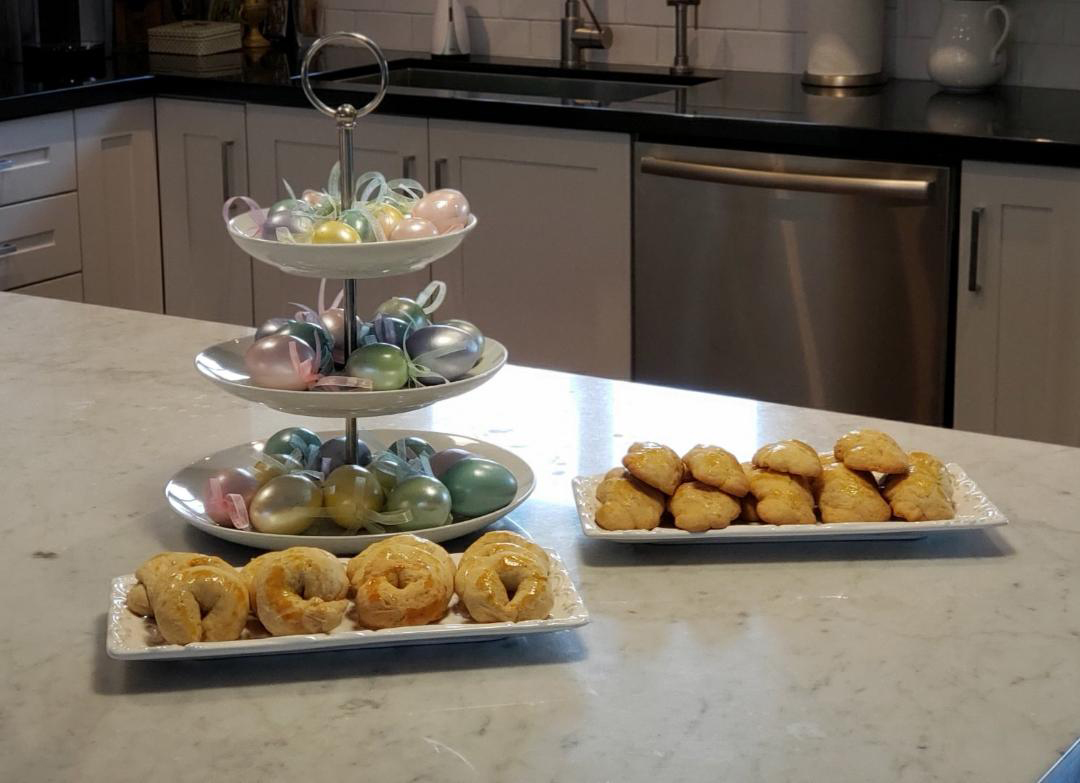
So today’s post is going to be short and sweet! Yesterday the kids didn’t have school so we decided to bake “koulourakia”, traditional Greek Easter cookies! The grandmas came over and my mom made sure to bring her little recipe book that she has had for years. This is what came before the computer, the internet, email and pinterest – the little hand written recipe book that family memories are made of! I’m sharing my mom’s recipe for traditional “koulourakia” – a recipe that was passed down to her from one of her aunt’s. They are crispy on the outside, fluffy and buttery on the inside and just so delicious. You can make these for Easter or any time of the year really. Cookies come out of the oven ready to enjoy!
Koulourakia
(makes about 5 dozen)
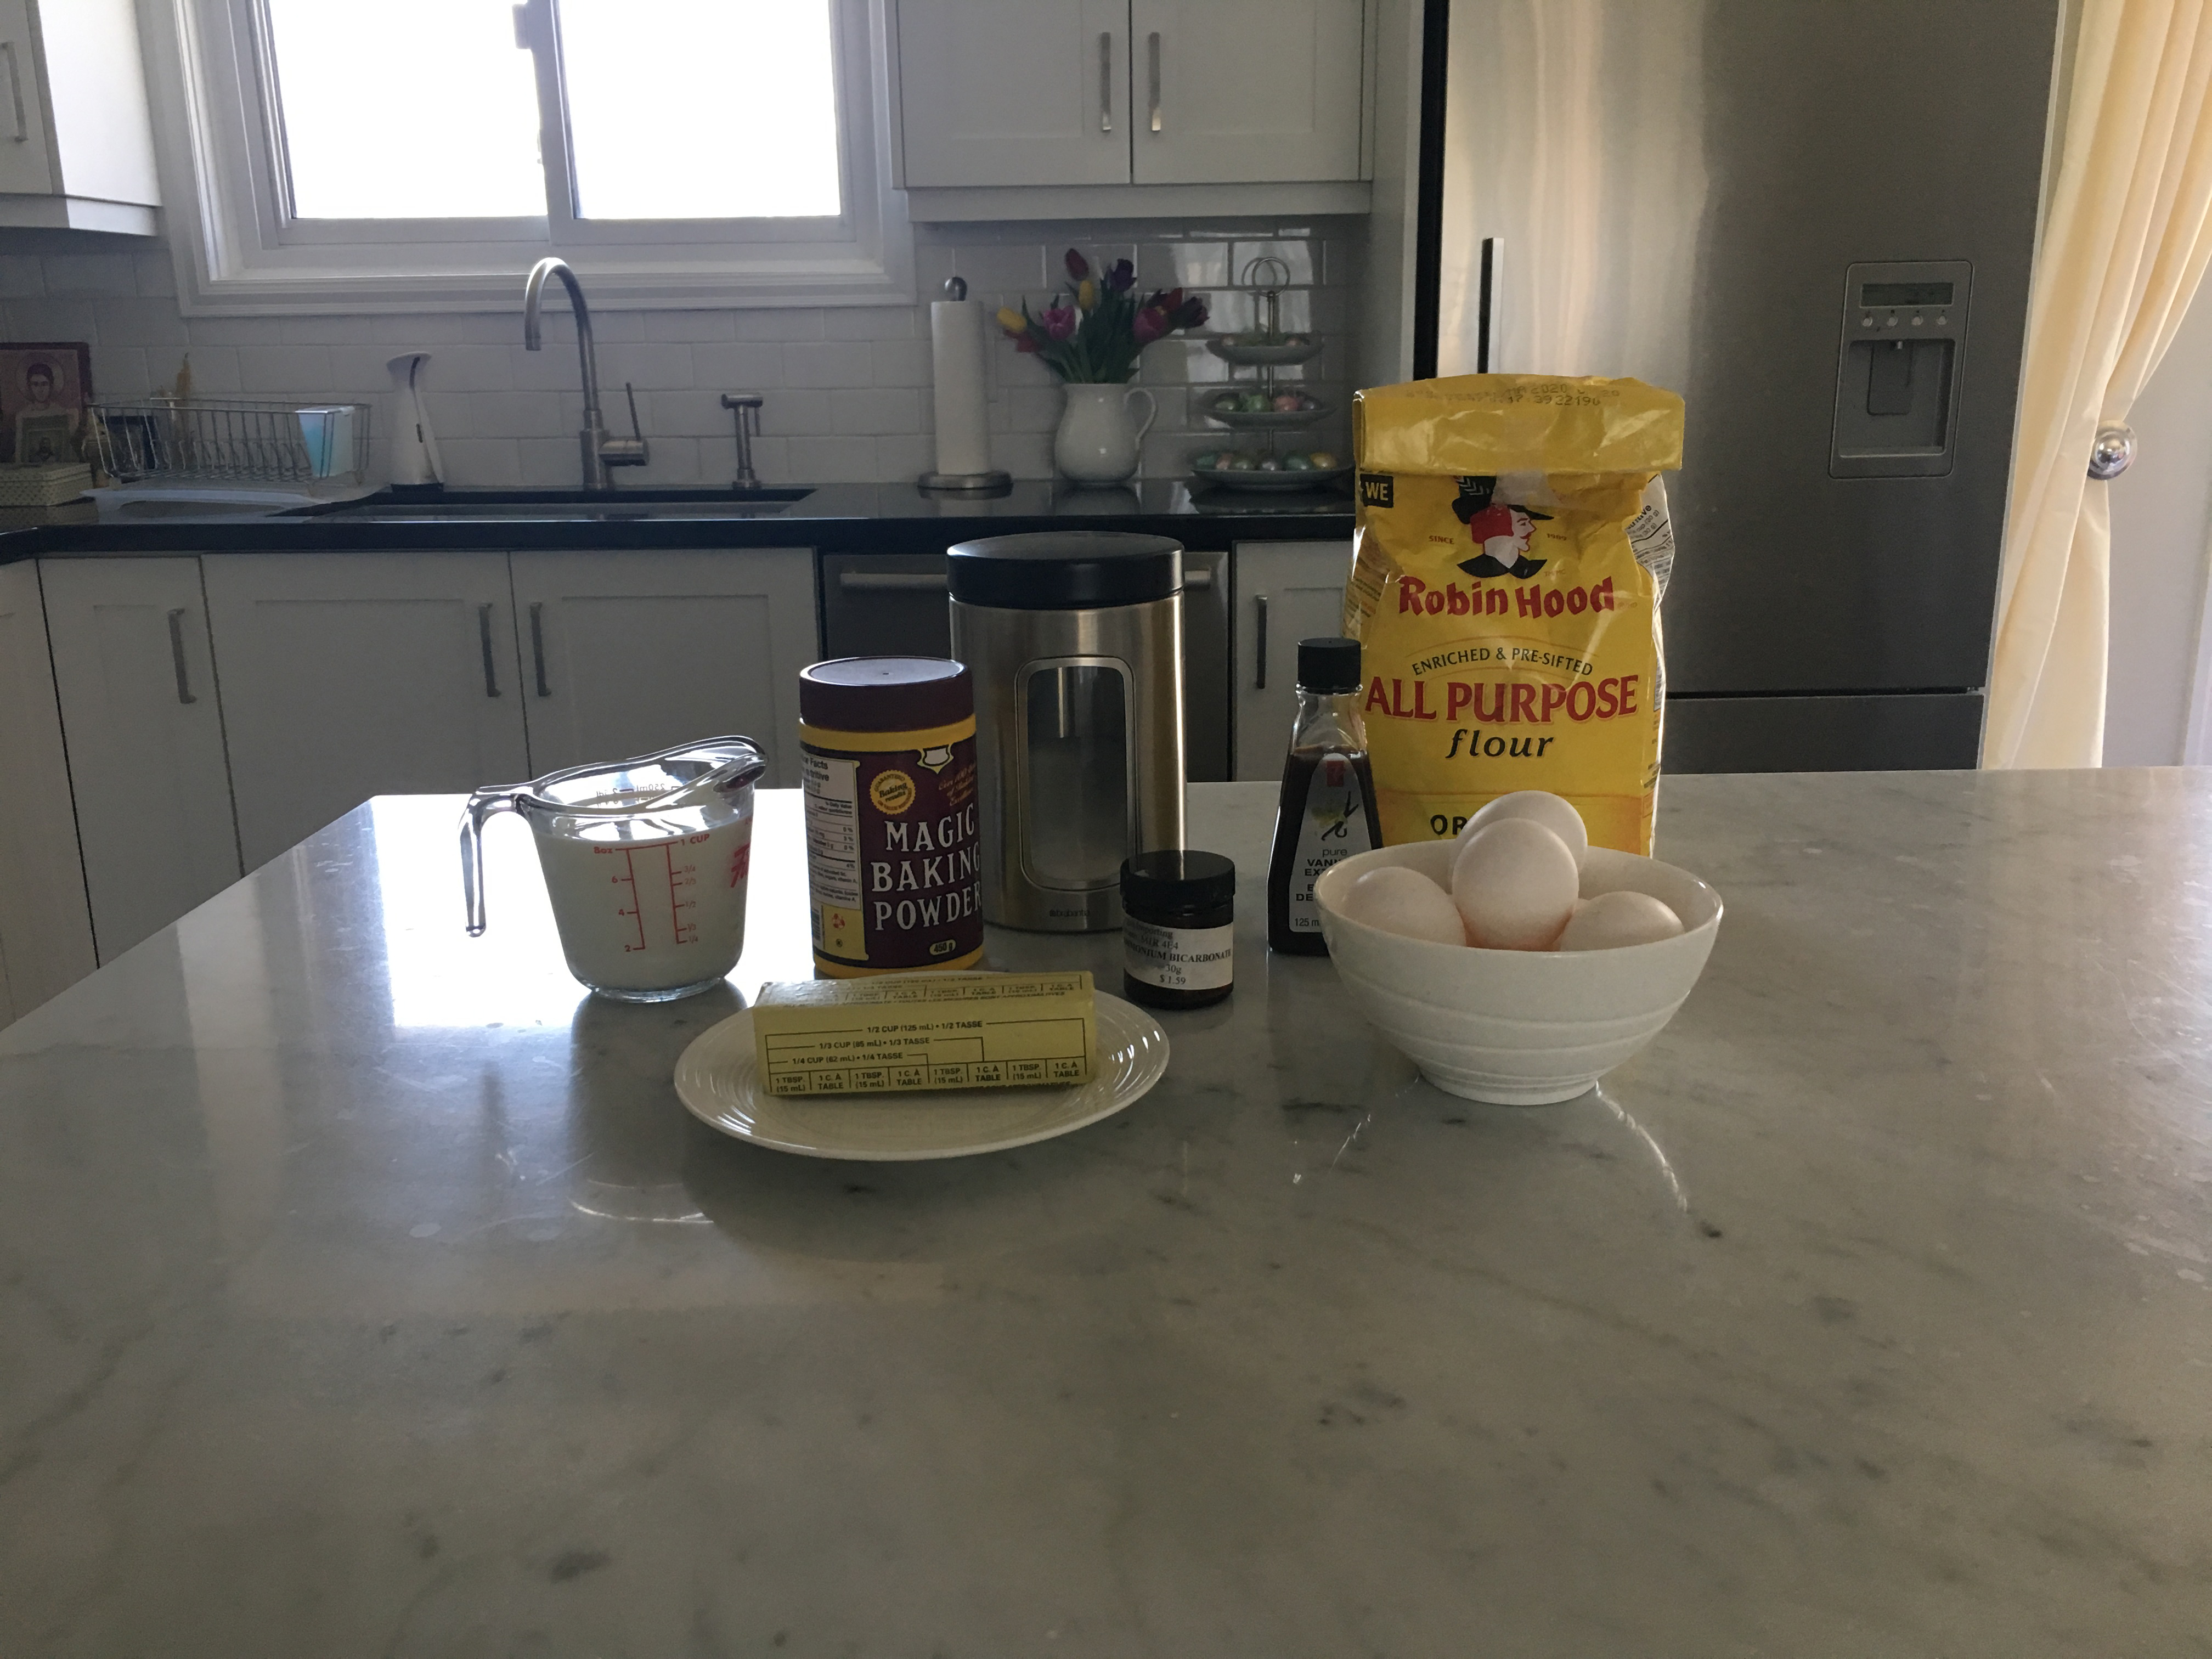
Ingredients
- 1 cup unsalted butter
- 8 eggs
- 3 cups granulated sugar
- 1 ½ cups milk
- 3 tbsp. baking powder
- 1 tbsp. ammonium bicarbonate
- 6 cups all-purpose white flour
- 1 tsp. vanilla
- ¼ cup vegetable oil
Egg wash (for brushing onto cookies)
- 1 egg yolk
- 1 tbsp. milk
PREPARATION
- Preheat oven to 350 degrees F.
- Whip butter with electric mixer until fluffy and creamy.
- Slowly add in sugar and continue to beat.
- Slowly add in 1 egg at a time as you continue to beat the mixture. Then add the vanilla as you continue to mix on low.
- Pour milk into a small bowl and warm it in microwave so that it is lukewarm. About 30 seconds but depends on your microwave.
- Add ammonium bicarbonate into the milk and stir. It should bubble slightly.
- Add milk mixture into large bowl with other ingredients and stir.
- Sift together remaining dry ingredients – flour and baking powder.
- Slowly add the dry ingredients to the creamed butter mixture.
- Continue to mix on low with mixer and then knead dough lightly until it is firmer but still a soft pliable dough.
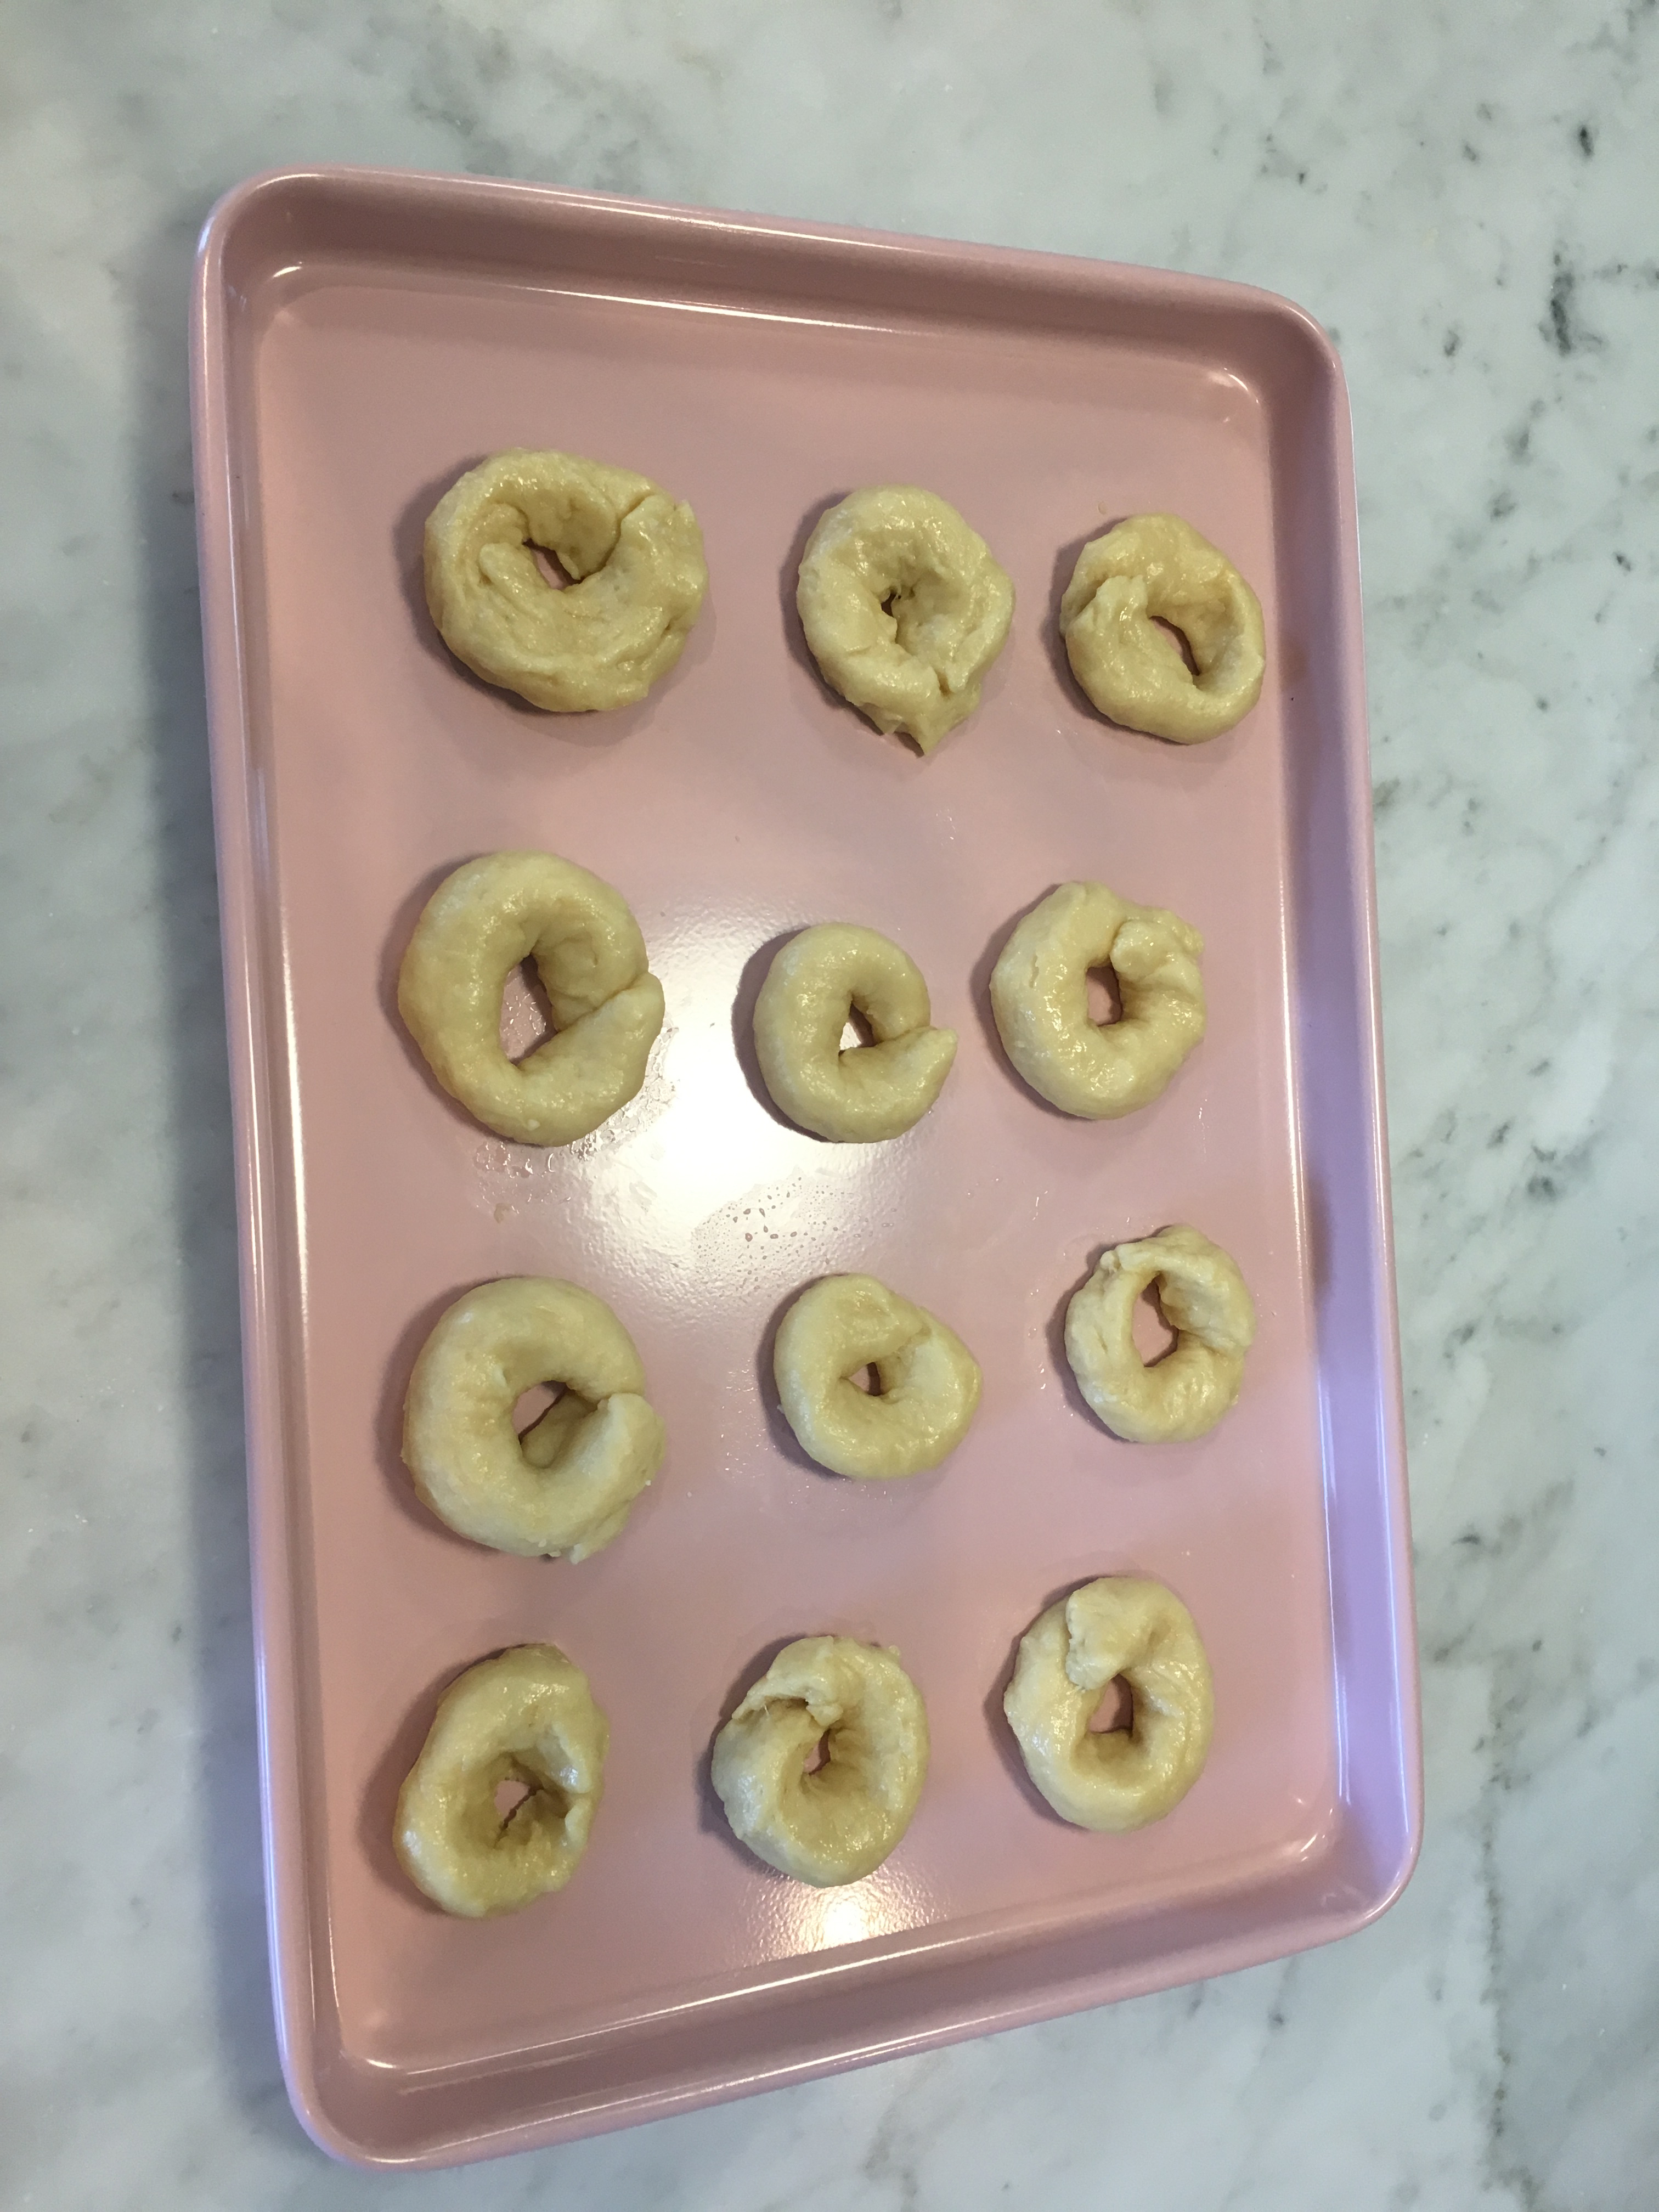
- Take about 1 large tbsp. of dough and place it onto your working surface. Roll the dough into a large thin cord. You can then shape it into a ring, an S or a traditional Easter braid (or any shape you like really).
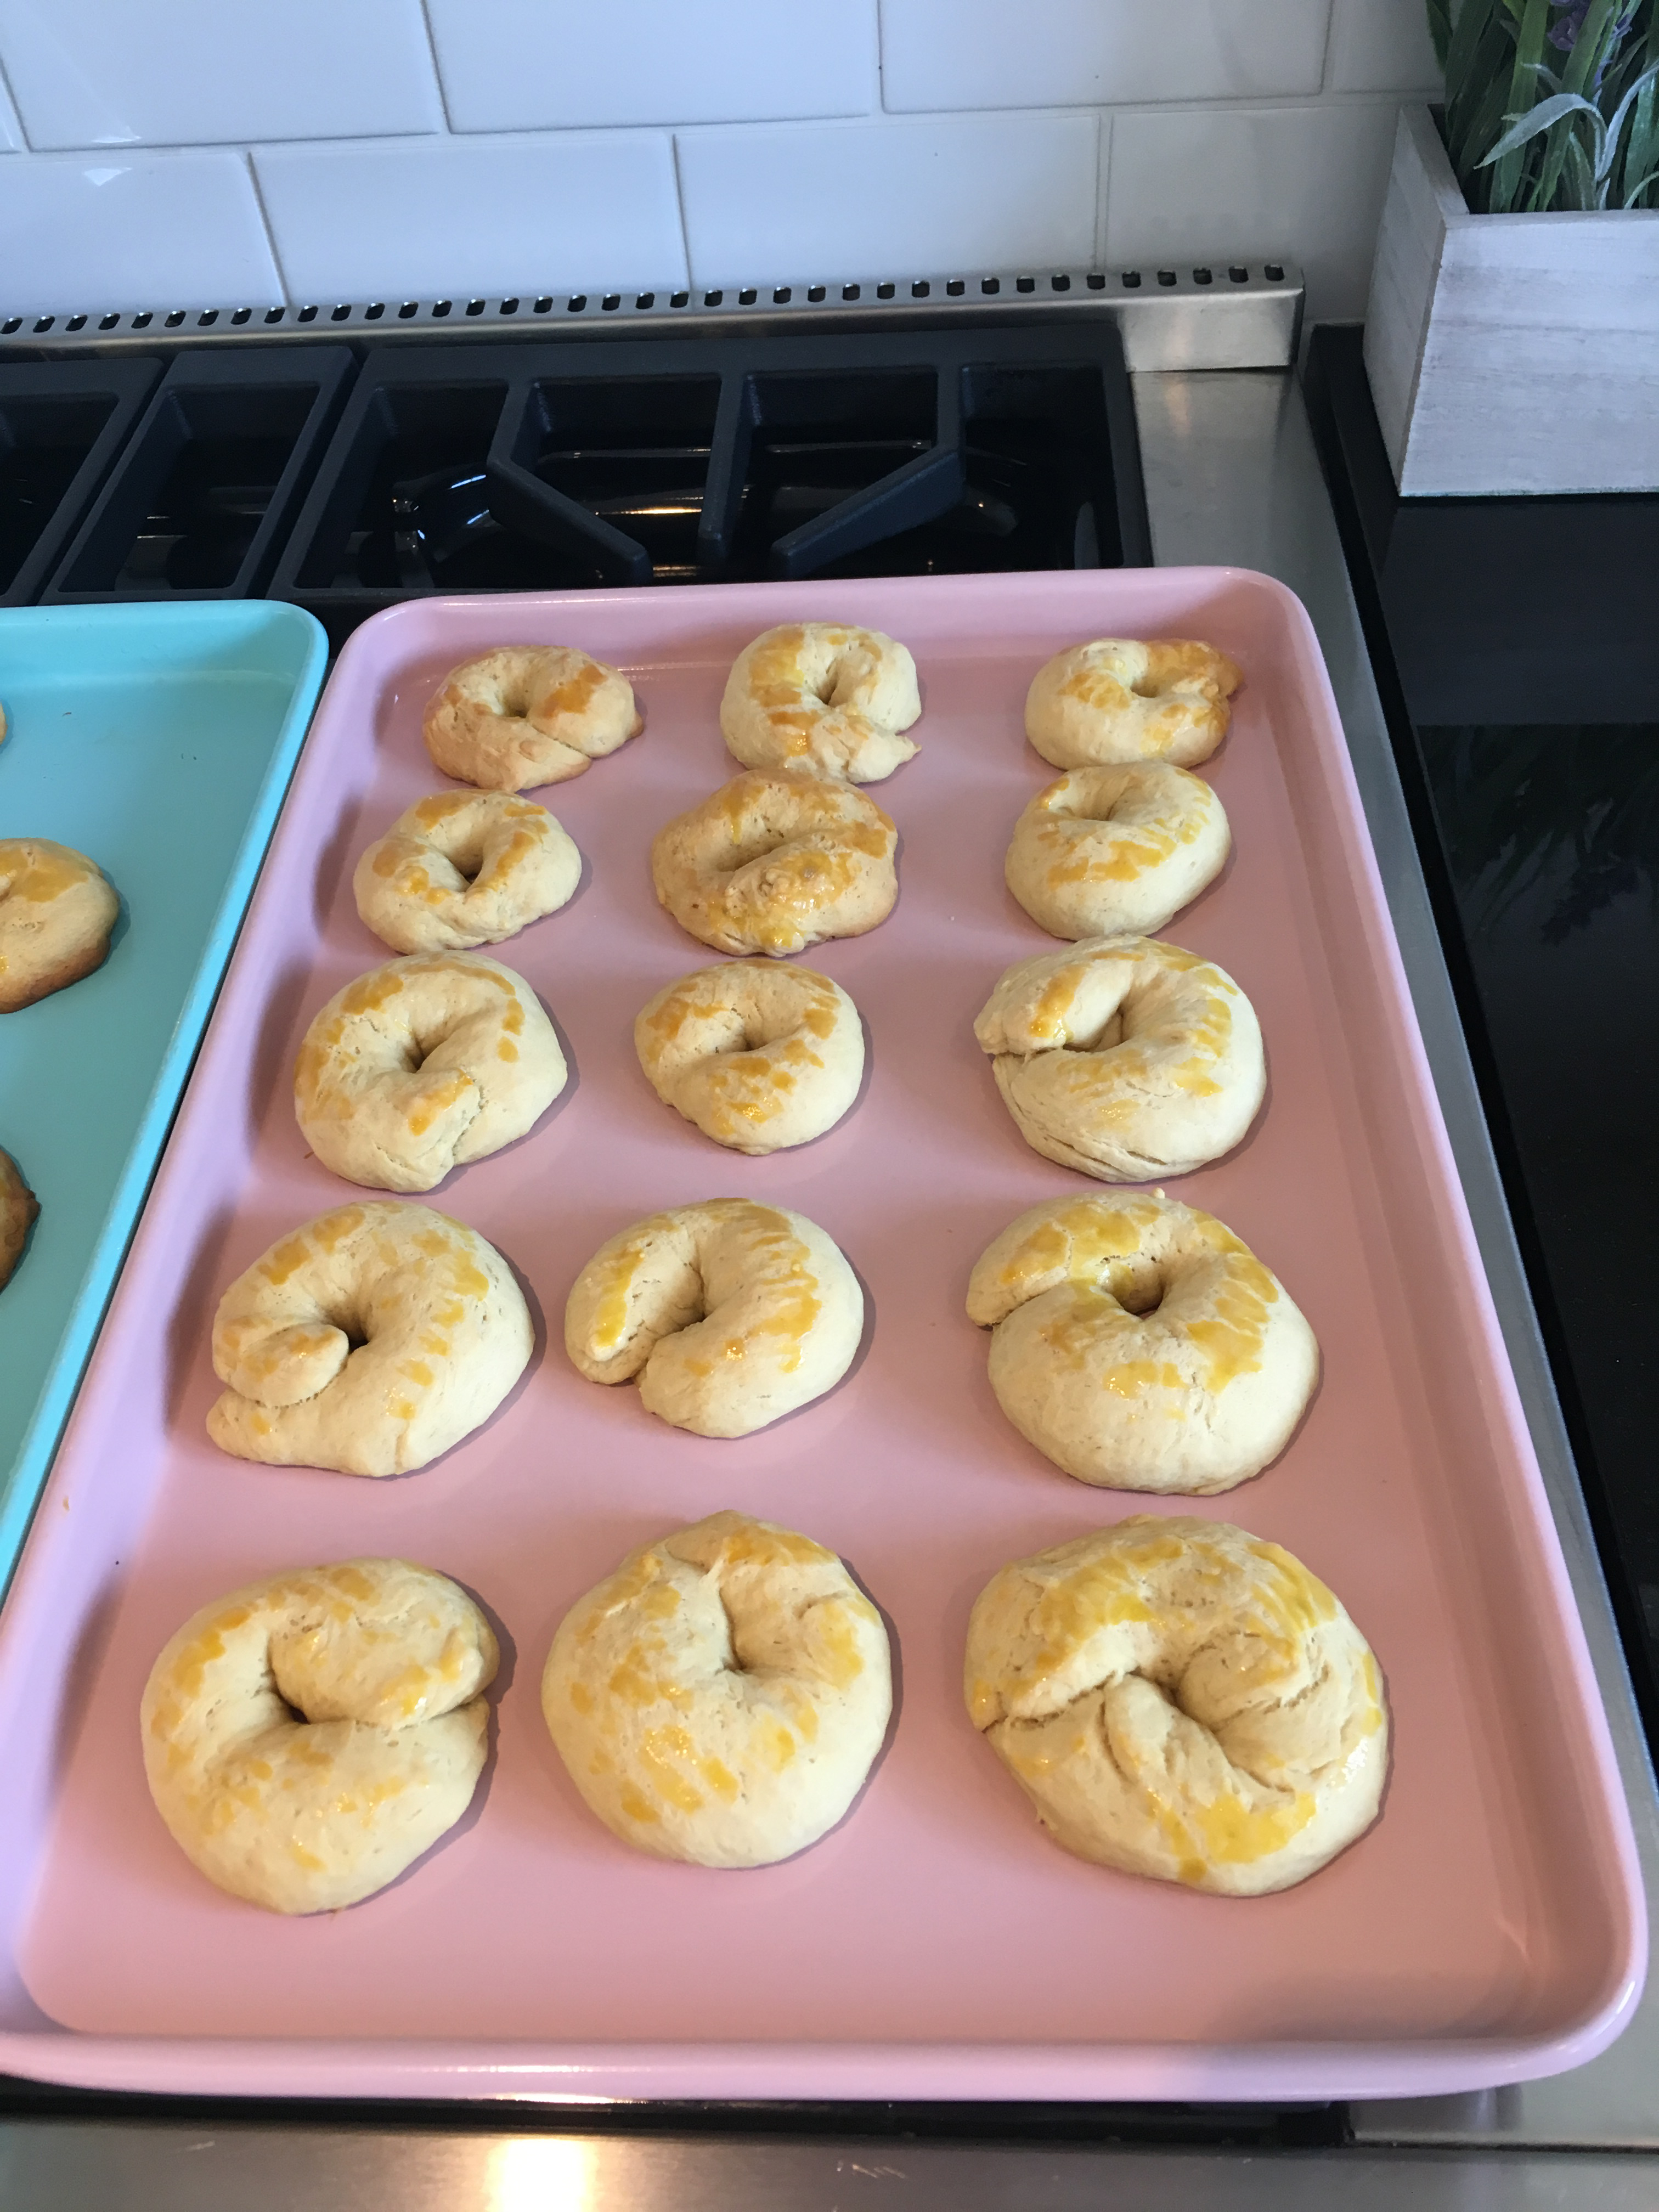
- Once you have shaped your cookies, lightly brush some egg wash on top (just mix the egg yolk with 1 tbsp, of milk in a small bowl to make your egg wash).
- Bake in oven at 350 for approximately 20 minutes or until edges are brown. Time to cook is really dependent on your oven so keep an eye on them.
- Let cool and store in a seal-tight container for freshness.
- And of course enjoy!


Some helpful hints and tips!
- Ammonium bicarbonate can smell pretty strong. If it’s too much for you or you just don’t like it, please feel free to omit and just use baking powder in the milk instead. You can substitute in 1 tsp. of baking soda instead.
- Since the dough will be sticky, you can rub a little vegetable oil into your hands before picking up the dough.
- You can shape these any way you want! Try and keep one shape per baking sheet as it will be easier to make sure the baking consistency.
- Leave at least 1” between cookies on the baking sheet. These cookies like to expand and grow as they bake!
- You can store them for even longer if you store in the fridge.
There’s less than a week until our Easter and I’m not going to lie, the kids and the hubby have been devouring them! I think I may need to hide the rest! I’d love to hear what you think of our traditional “koulourakia” recipe! I hope you and your family and friends enjoy them as much as we do! And I can’t wait to make them again next year with the kids and all the grandmas! “Kai tou xronou!” – “And next year again”!


One Comment
Elpida Cyprus
I hope that you won’t stop writing such interesting articles. I’m waiting for more of your content. It’s so good that i’m going follow you!