How to Make Easy Spring Planters
Happy Friday everyone! What are your plans this weekend? Now that we’re finally starting to get some warmer weather I’m feeling a bit inspired and thinking we might do some gardening this weekend! I usually make some pretty Spring planters earlier on in the Spring but ther weather has been so wonky that my planters didn’t do so well or last for very long. It was either too much rain or just way too cold.
So this weekend were making our Spring Planters…round 2! It’s actually pretty easy to DIY and get that custom and pretty Springy look you normally find at your local nursery and I’m going to show you how to do it without breaking the bank!
- Pick a style and color scheme.
First off pick a style that you really like. It may be traditional, modern or a bit of a mix and pair it with a complimentary planter. Once you know the style you’re going after, select 2-3 colors that you like and try to stay in that color scheme when picking out your flowers and supplies. Check out Pinterest for ideas or even go to your local nursery to get some ideas on what you like. I love the local nursery in my area but the custom planters are way too expensive and I can usually create the same look at a fraction of the price. I usually start off there to scope things out and get ideas and then head over to a local flower market where I can get everything for less than half the price!
- Go shopping and pull together your materials.
Depending on the style of planter you are creating, you will need:
- a planter
- a liner (if you decide to use one)
- potting soil
- an assortment of annuals. I like to choose 2-3 different ones for variety. Pick from tulips, daffodils, pansies, petunias, hyacinths, ranunculus…the list goes on! Try to find different sizes, and heights for your planter.
- pretty and full perrenials like hydrangeas, dianthus etc.
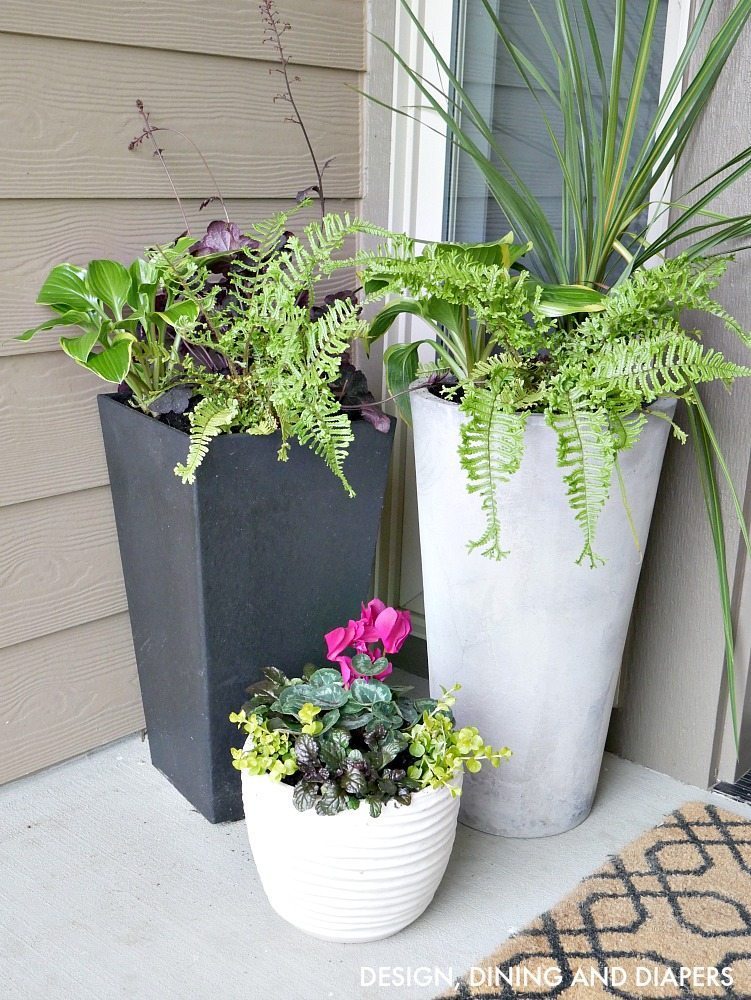
- greenery of your choice including tall spikes (Dracaena), full ferns, or low vines and coral bells etc.
- decorative branches
- pussy willow
- other decorative pieces like bird houses and rattan balls

- Start planting!
Fill the planter or liner with potting soil, leaving some space for your plants.
Starting from the center, plant your tallest plants either in the center of your pot or in the back depending on the look you have decided on.
From there arrange your plants from the centre out, and rom the tallest to the shortest.
Then add any low greenery like vines to your planter, either just in front and to the sides or all the way around. Make sure it is cascading over the planter edge.
Add in decorative branches or pussy willow of your choice and any other decorative ornaments.
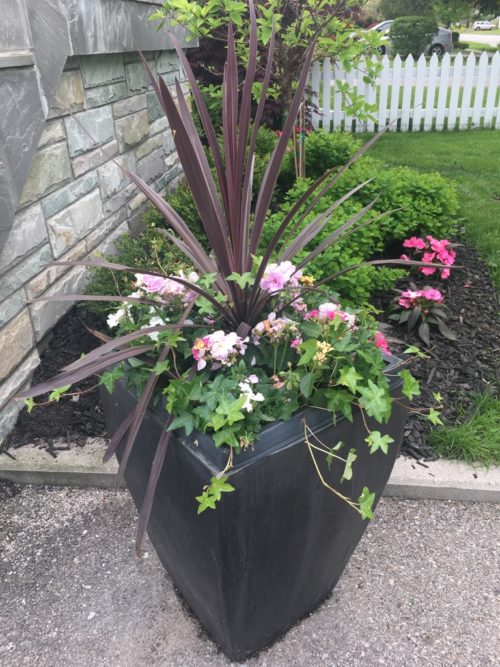
And you are done! Here’s a pic of one we recently did at my sister’s place!

What do you think? Pretty easy? Honestly these take probably less than 30 minutes to make and are such an amazing addition to the front of your house or porch! So excited to make my planters this weekend! And good luck with your planters too! I’m positive they will be a great Springy addition to the front of your home! Have a great weekend!